Have you seen the new option to add a PowerApps Portal in your Office365 tenant? Well it’s brand new and I just heard about it recently and now I have setup my own at liserasmussen.powerappsportals.com The powerappsportals.com domain name can be changed to a proper URL (domain) later in the Admin center. This is how I created my first portal.
But first, what is it? PowerApps Portal is the ability to build low-code, responsive websites which allow external users to interact with the data stored in the Common Data Service. Share the site with internal and external users, even anonymous users just like a regular public website! Read more here.
Create the portal
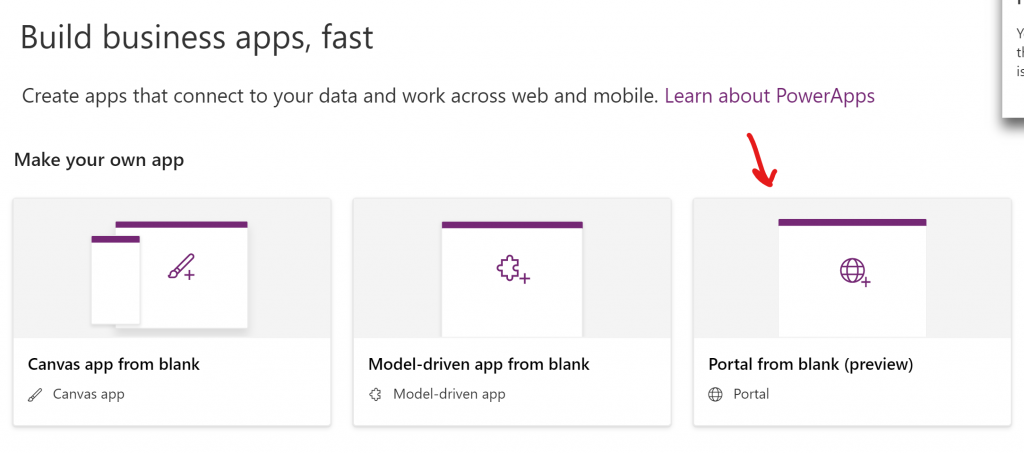
Go into PowerApps and click on Portal from blank – (this is still Preview)
In the screen that follows, fill in your name and address to the portal and Create – I could not click on “Create environment” so I skipped that.
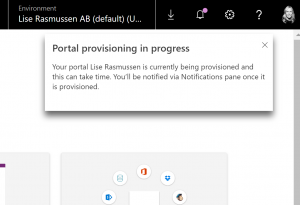
Now the portal is provisioned, it took about 50 minutes for me. You will get a notification when it’s done. Exciting!
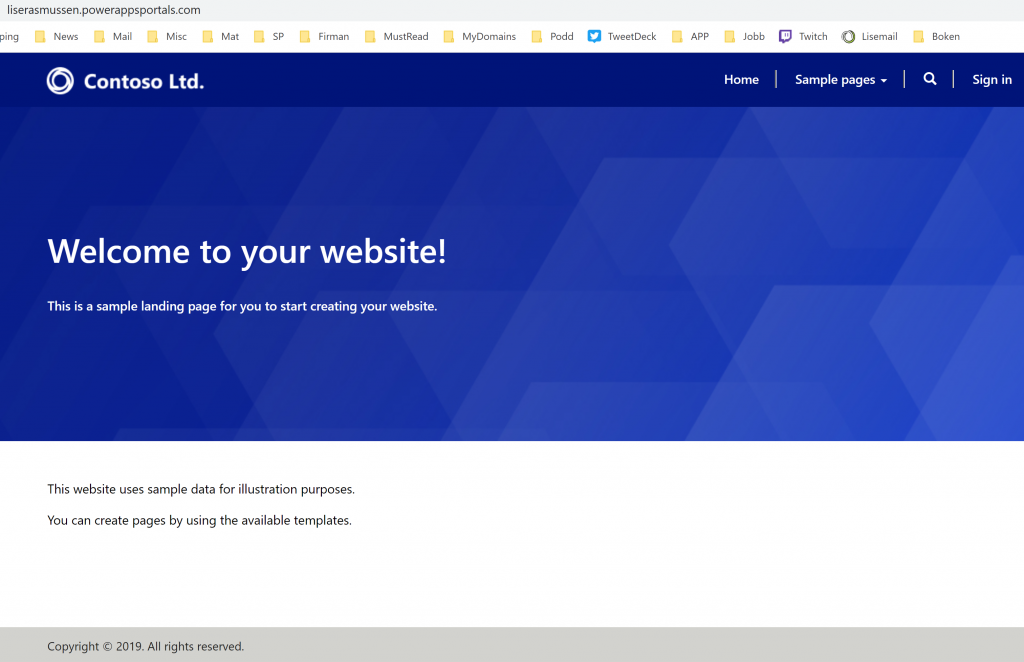
The first time you enter the site it will look like this.
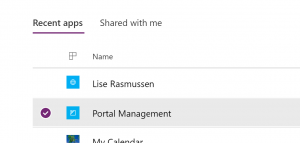
There is also a new link to Portal Management, where you actually build your web site.
A bit overwhelming portal to dig into – it was like.. “hmm where do I start..?”. I want to add a feedback form to my site, so why don’t start with that.
Add a form
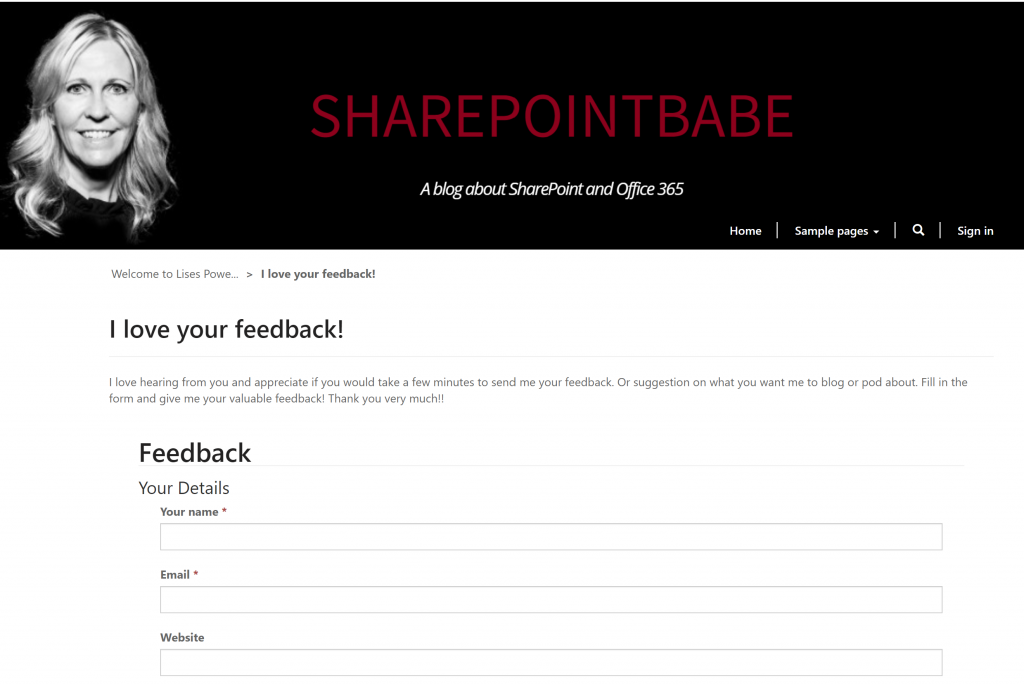
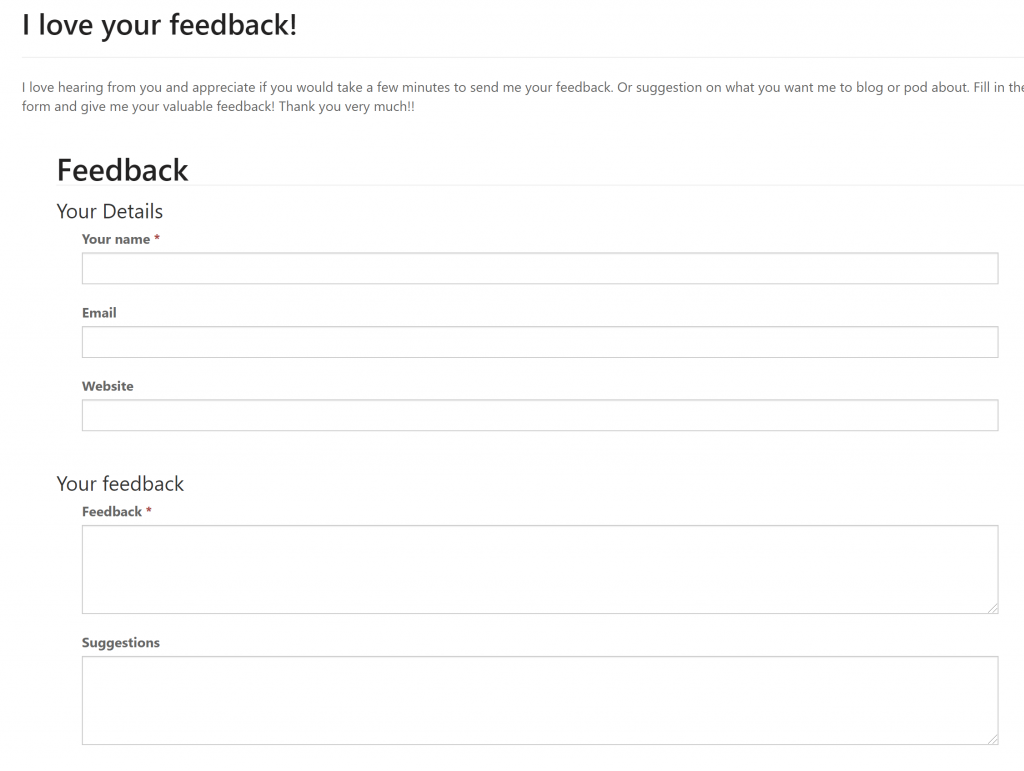
I built a form (using Entities and Forms in PowerApps) for Feedback on my website and embedded that on a page. Add a new page in the left side menu, I right clicked on “Sample pages” and added a “Child page”. Then added a one-column with a section inside, and added Form into it. Give the form a name, do the settings and the new page looks like this. Works awesome! Try it out here and while you do that – send me some feedback ❤️!
Brand the PowerApps Portal
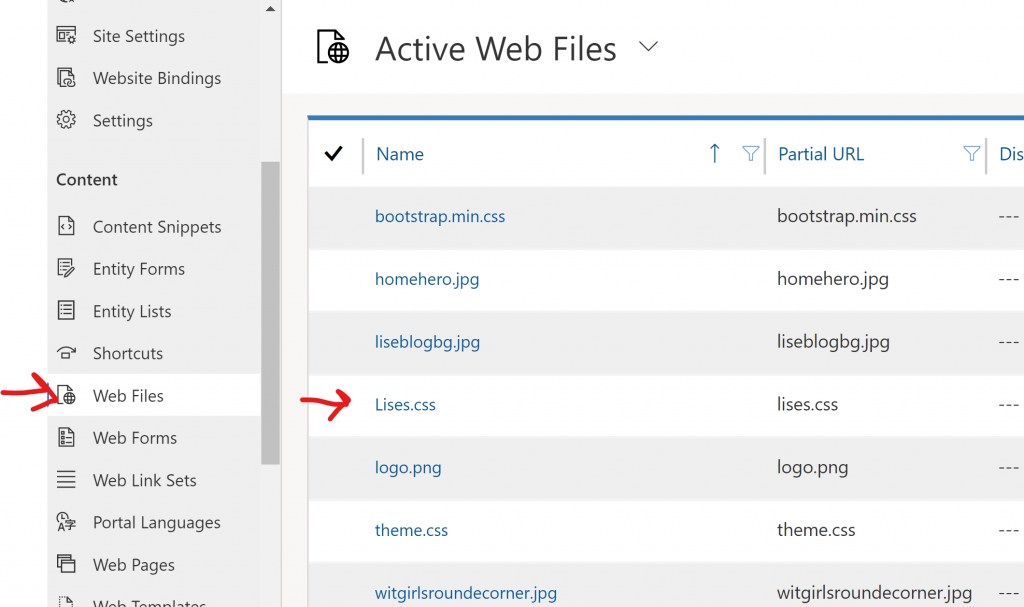
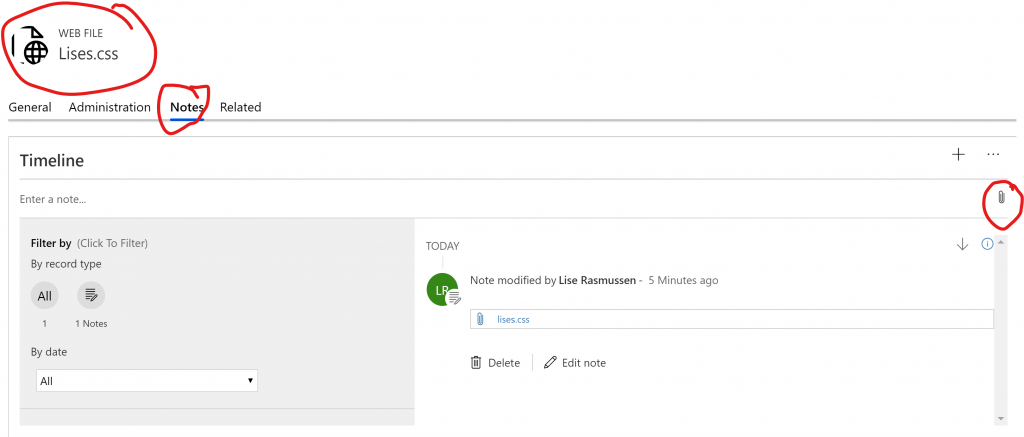
I want to add my own branding to my new portal. To do this you add a new Active Web File which I called Lises.css and by adding it there, it gets attached in the source code of your web site. So cool and easy!
Then write your css file and upload it into to the new active file you created (Lises.css). This is a bit tricky before you know how to find the location where you add the file. But look on the Notes tab of your css file and upload your css there.
I use Developer Tools to find the classes I want to overwrite, fastest way I think to change colors and design. So I went from the default blue theme:
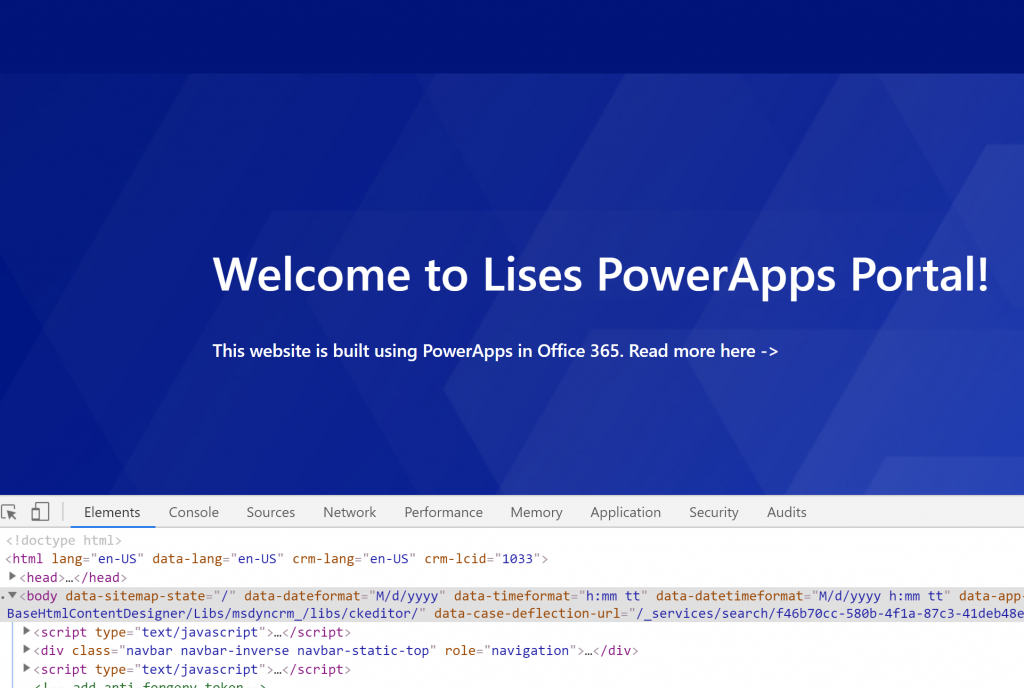
To my own SharePointBabe.com theme! Super awesome! I will add more information about this portal as I learn to handle it, but this is quite cool for now! Let me know what you think! ?