
Open Central Administration on your server. Go to the Application Management section and then click the “Manage web applications” link.
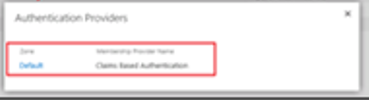
Select the web application where you have your public web site collection and then click the “Authentication providers” button available in the Ribbon. It will most likely show a “Default” link:
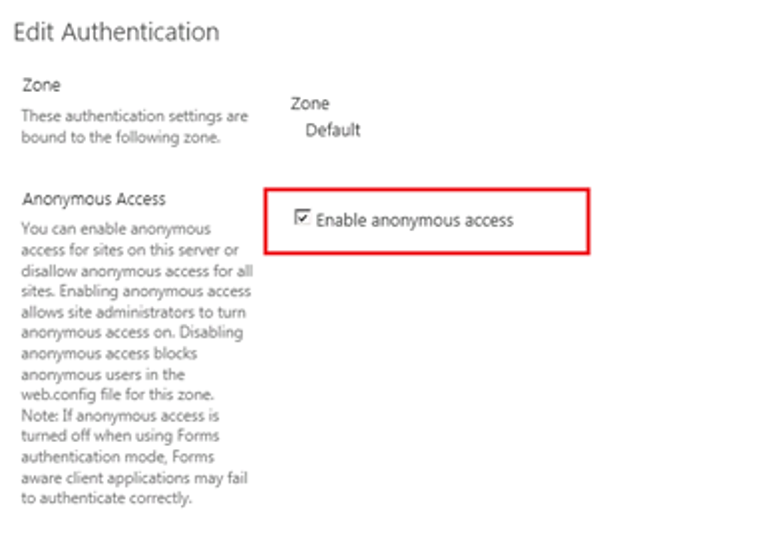
Click on the “Default” and then check the “Enable anonymous access” option and then Save.
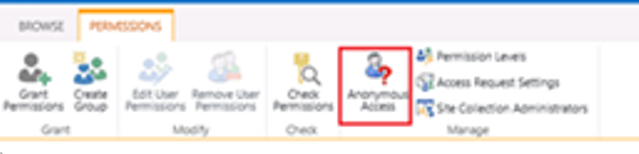
Now open the site collection that will be used as public website and go to the Site Settings. Click on “People and Groups”. In the ribbon there is a button for “Anonymous Access” that allows you to configure how anonymous users can access to the site.
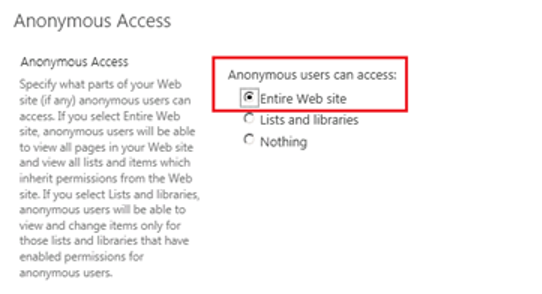
Click the “Anonymous Access” button in the Ribbon and find three options, select the one that is suitable for your site. In this case I would check the “Entire Web Site” to give the users full anonymous access to the site.
Now when you go back to the “People and Groups” page, there should be a new group called “Anonymous users” available in the list and it shows what permission they have on the site.
To test the anonymous web site, make sure you are signed out of the browser you are testing in, and see if you can access the site withouth having to sign in.
